Add new lenses to the Game Boy Camera
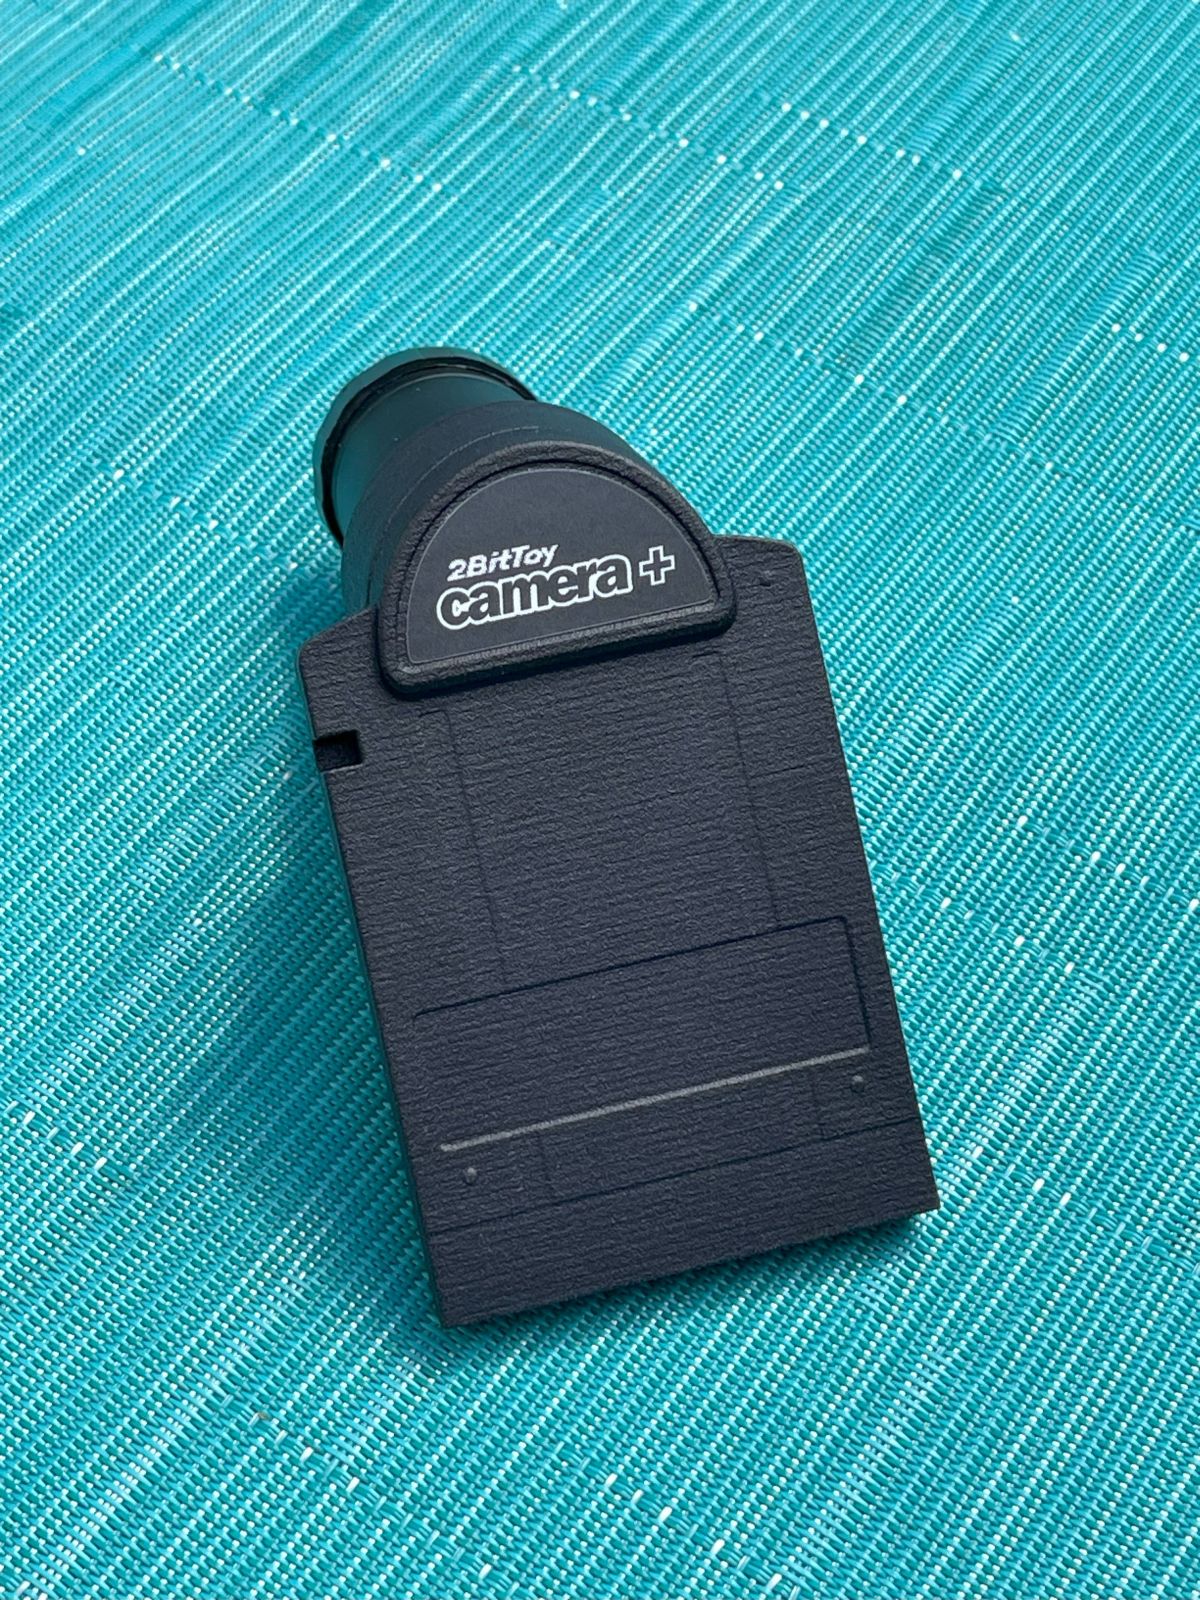
Today I finished putting together a mod by 2BitToy that adds interchangable lenses to the Game Boy Camera, turning into the Game Boy Camera+.
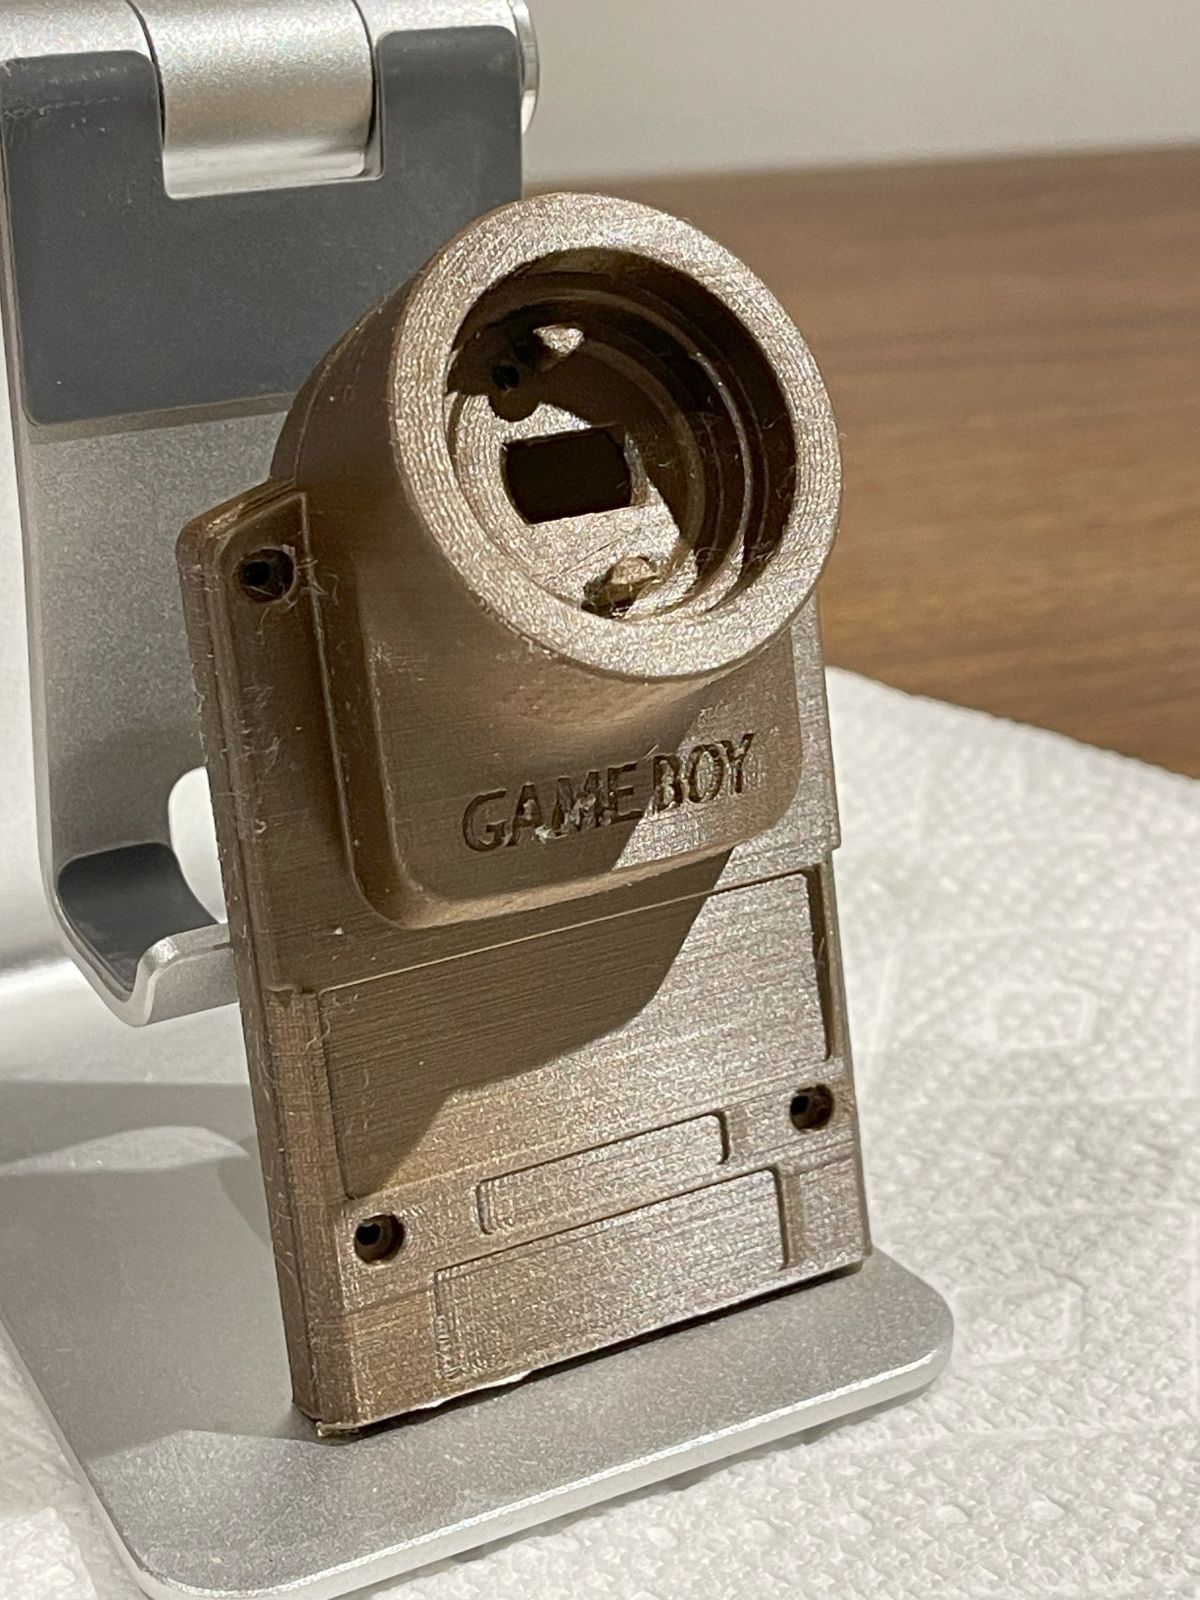
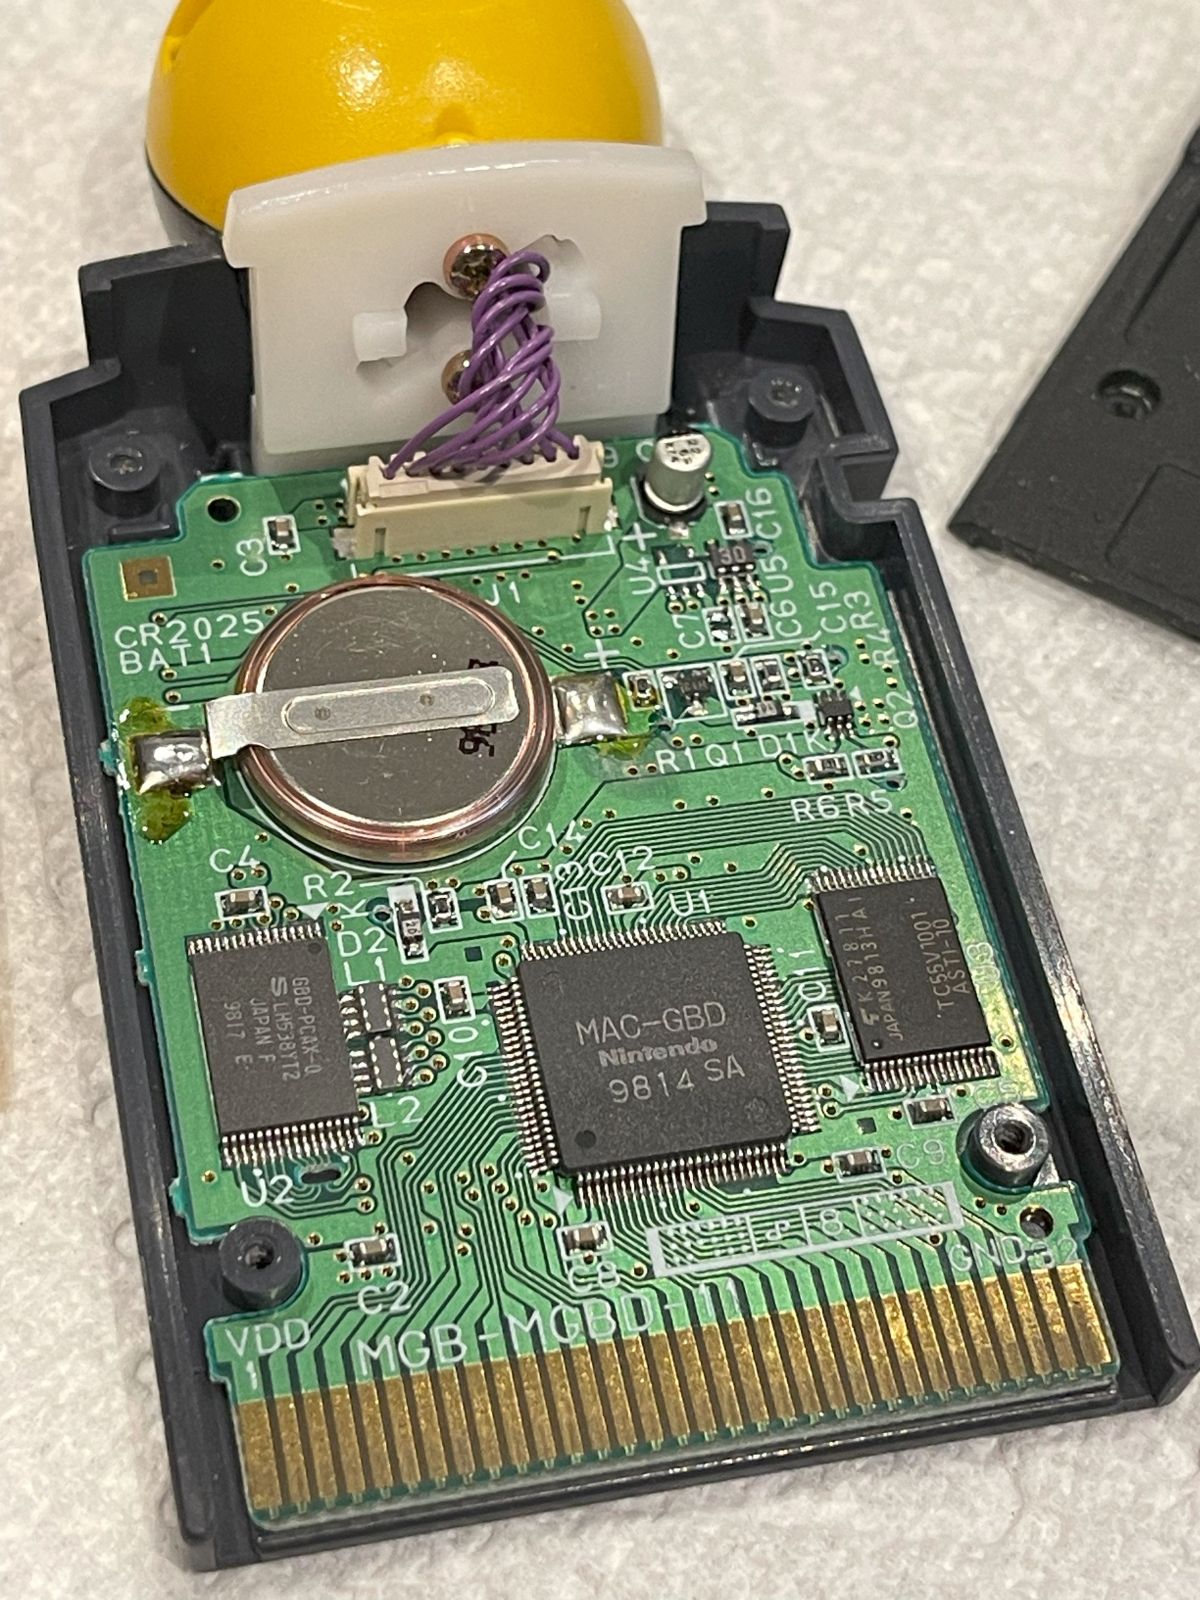
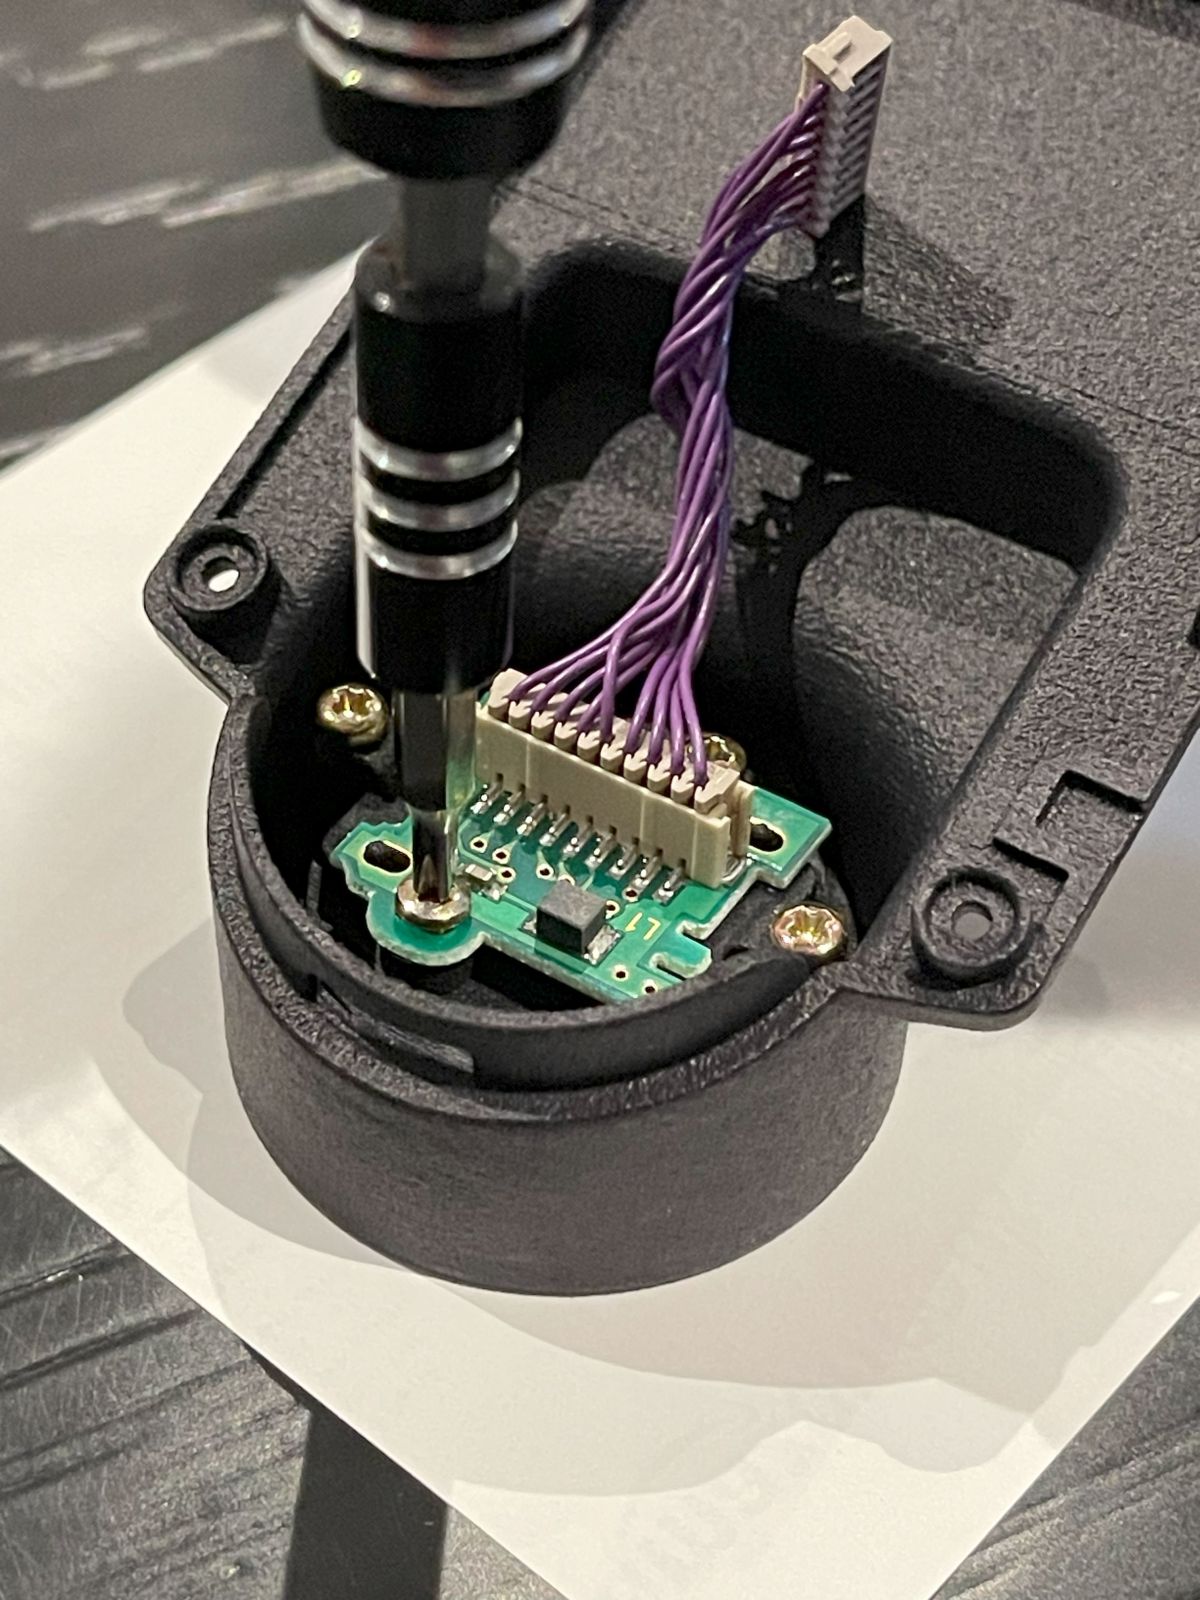
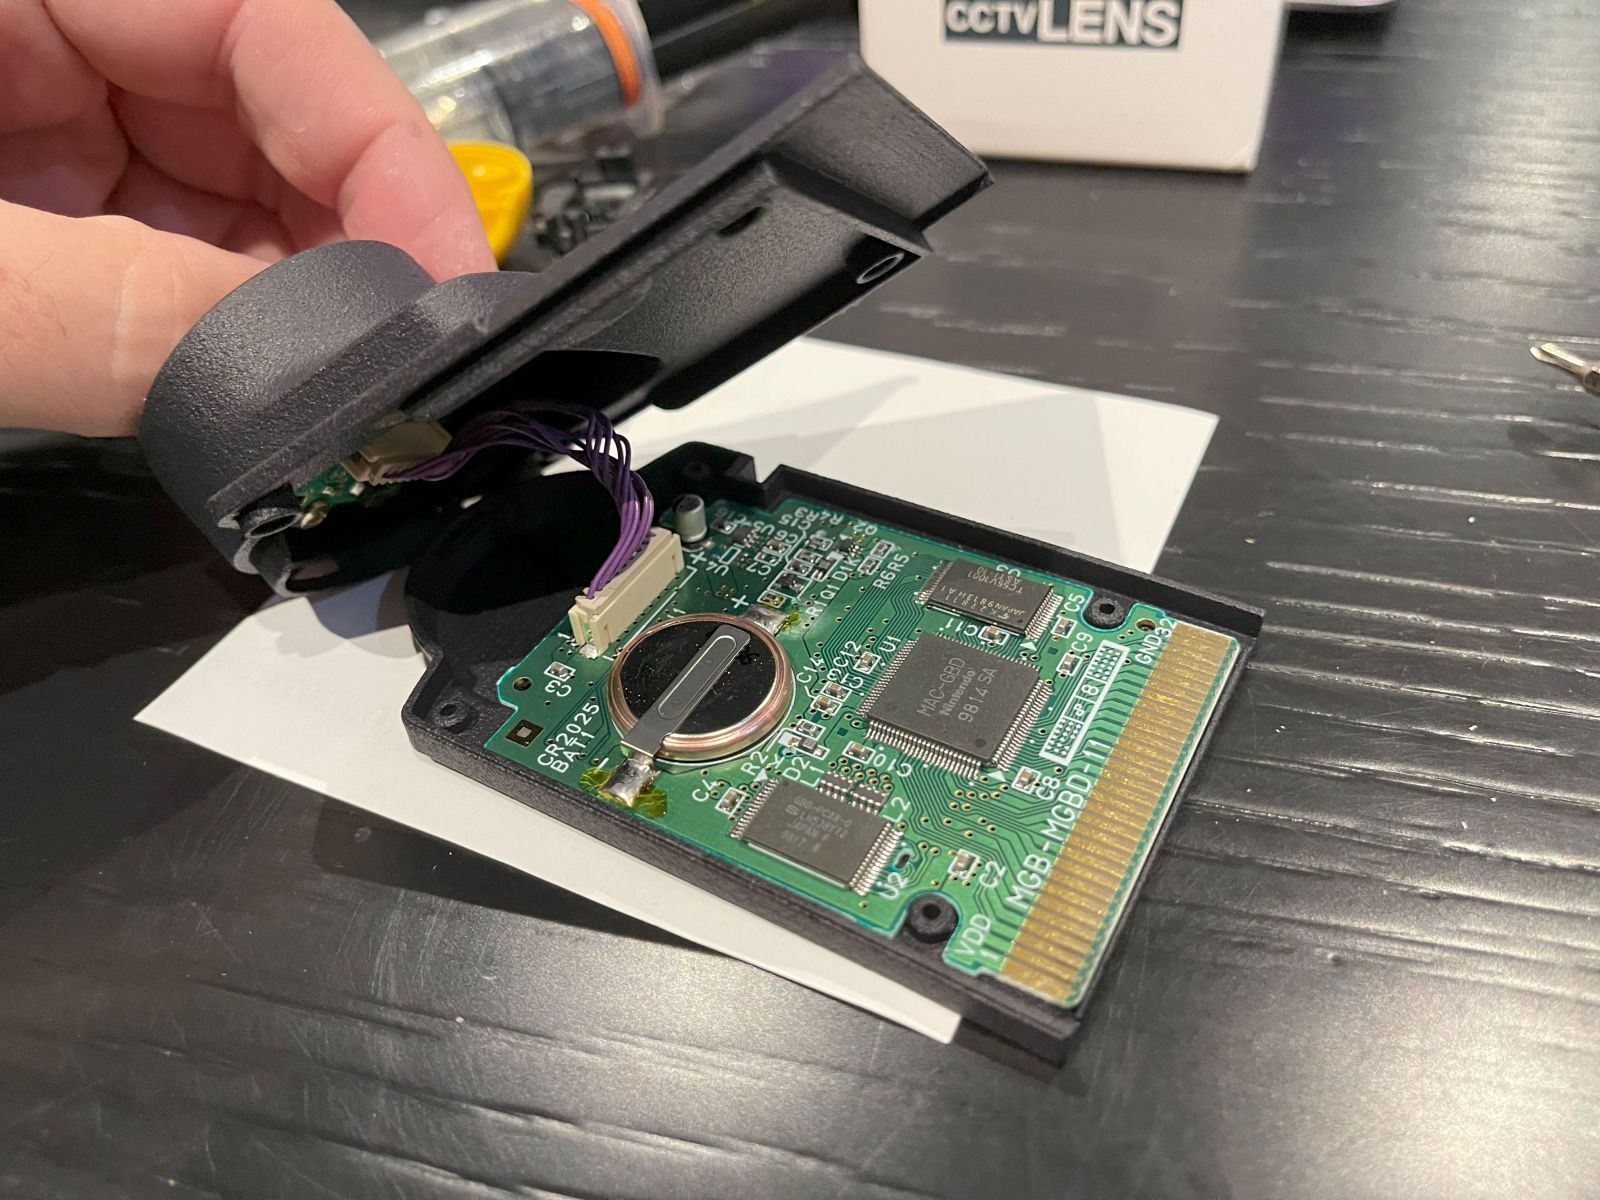
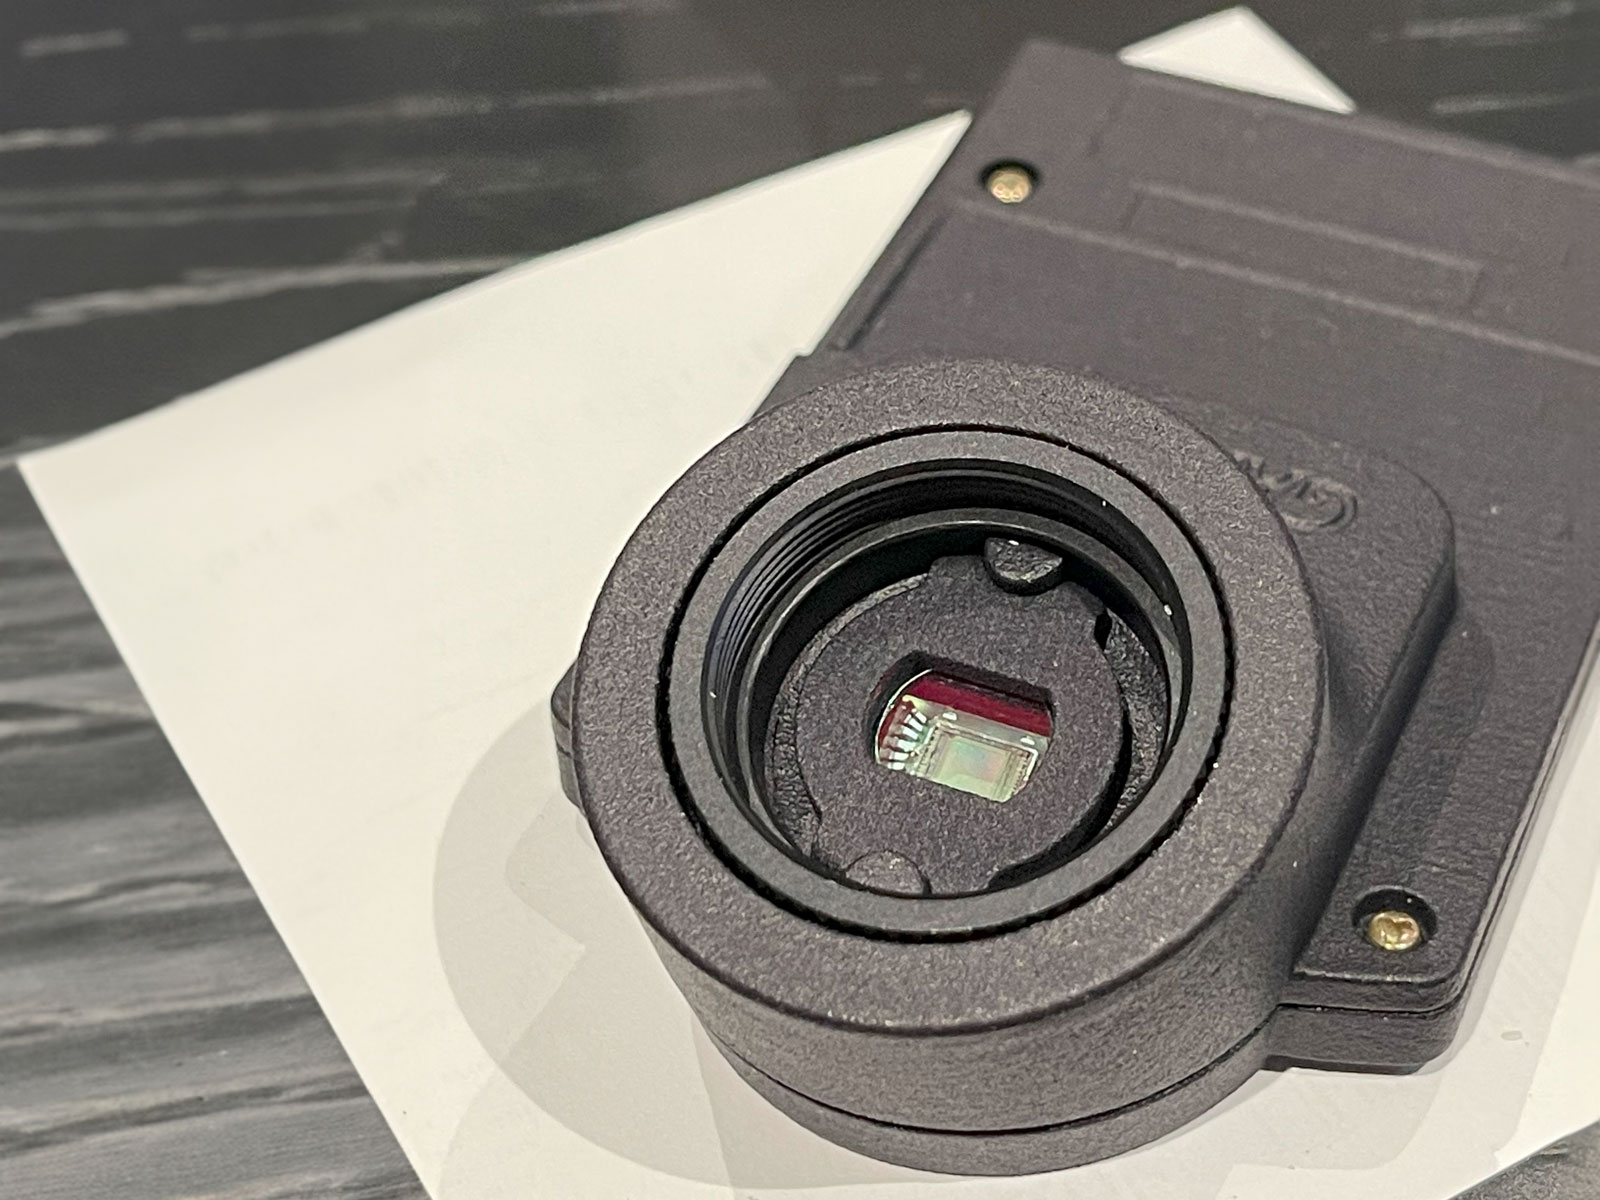
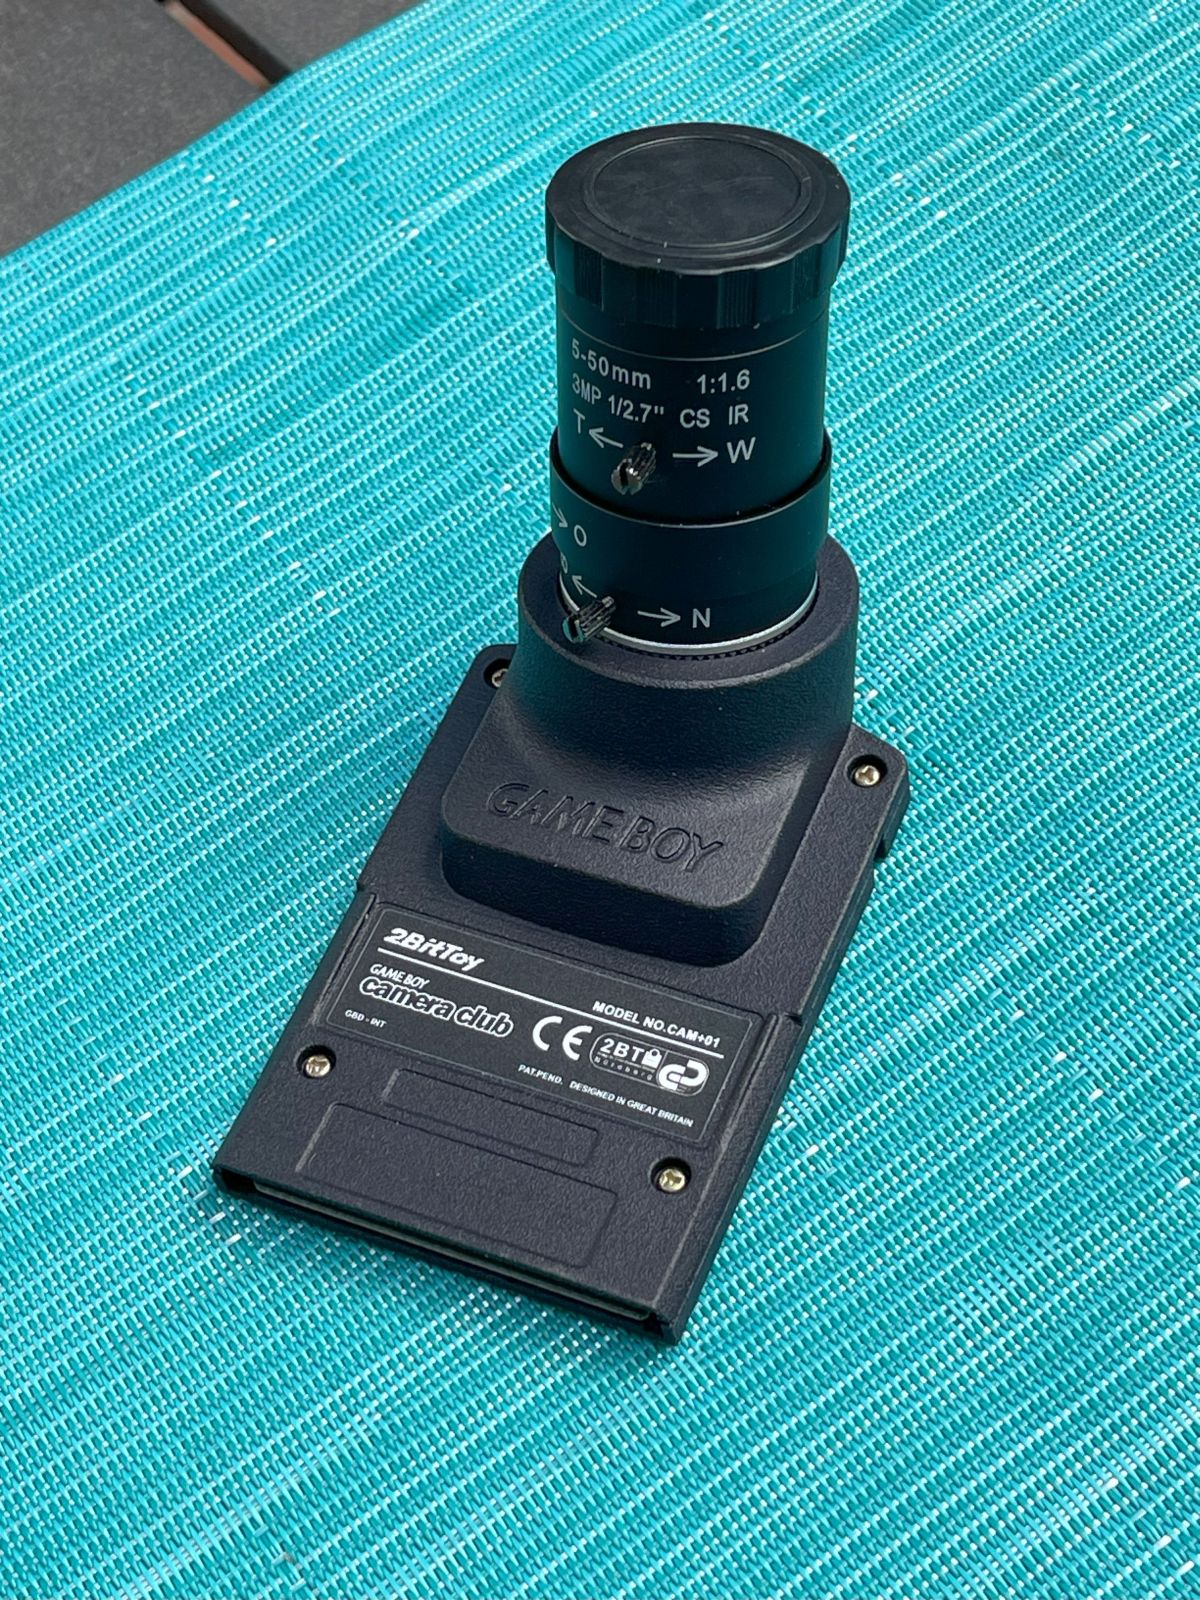
It works by swapping the original Game Boy Camera hardware into a new 3D printed shell, along with a CS mount and optional infrared filter.
The project also includes some label stickers as a nice finishing touch.
3D printing the shell
After 3D printing the design files myself in FFF and mSLA processes, I decided to also have Shapeways 3D print them in the MJF process to match the look and feel of the 2BitToy version.
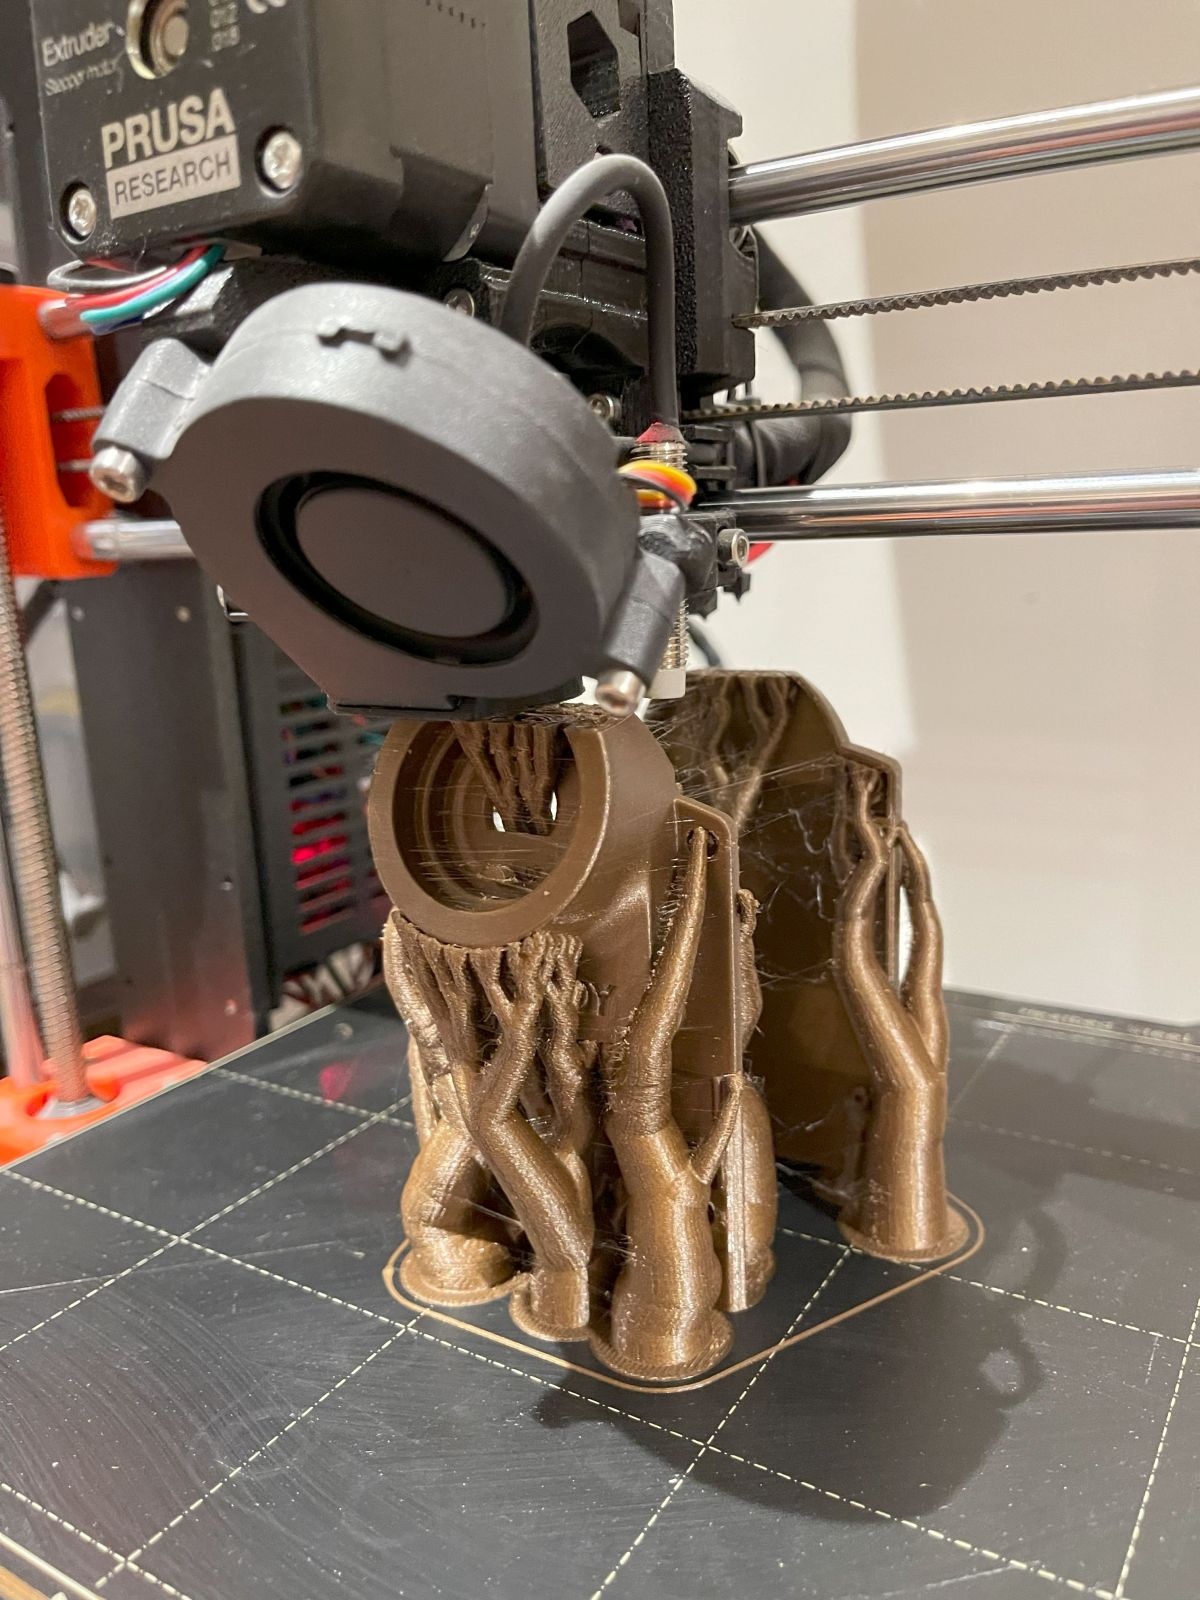
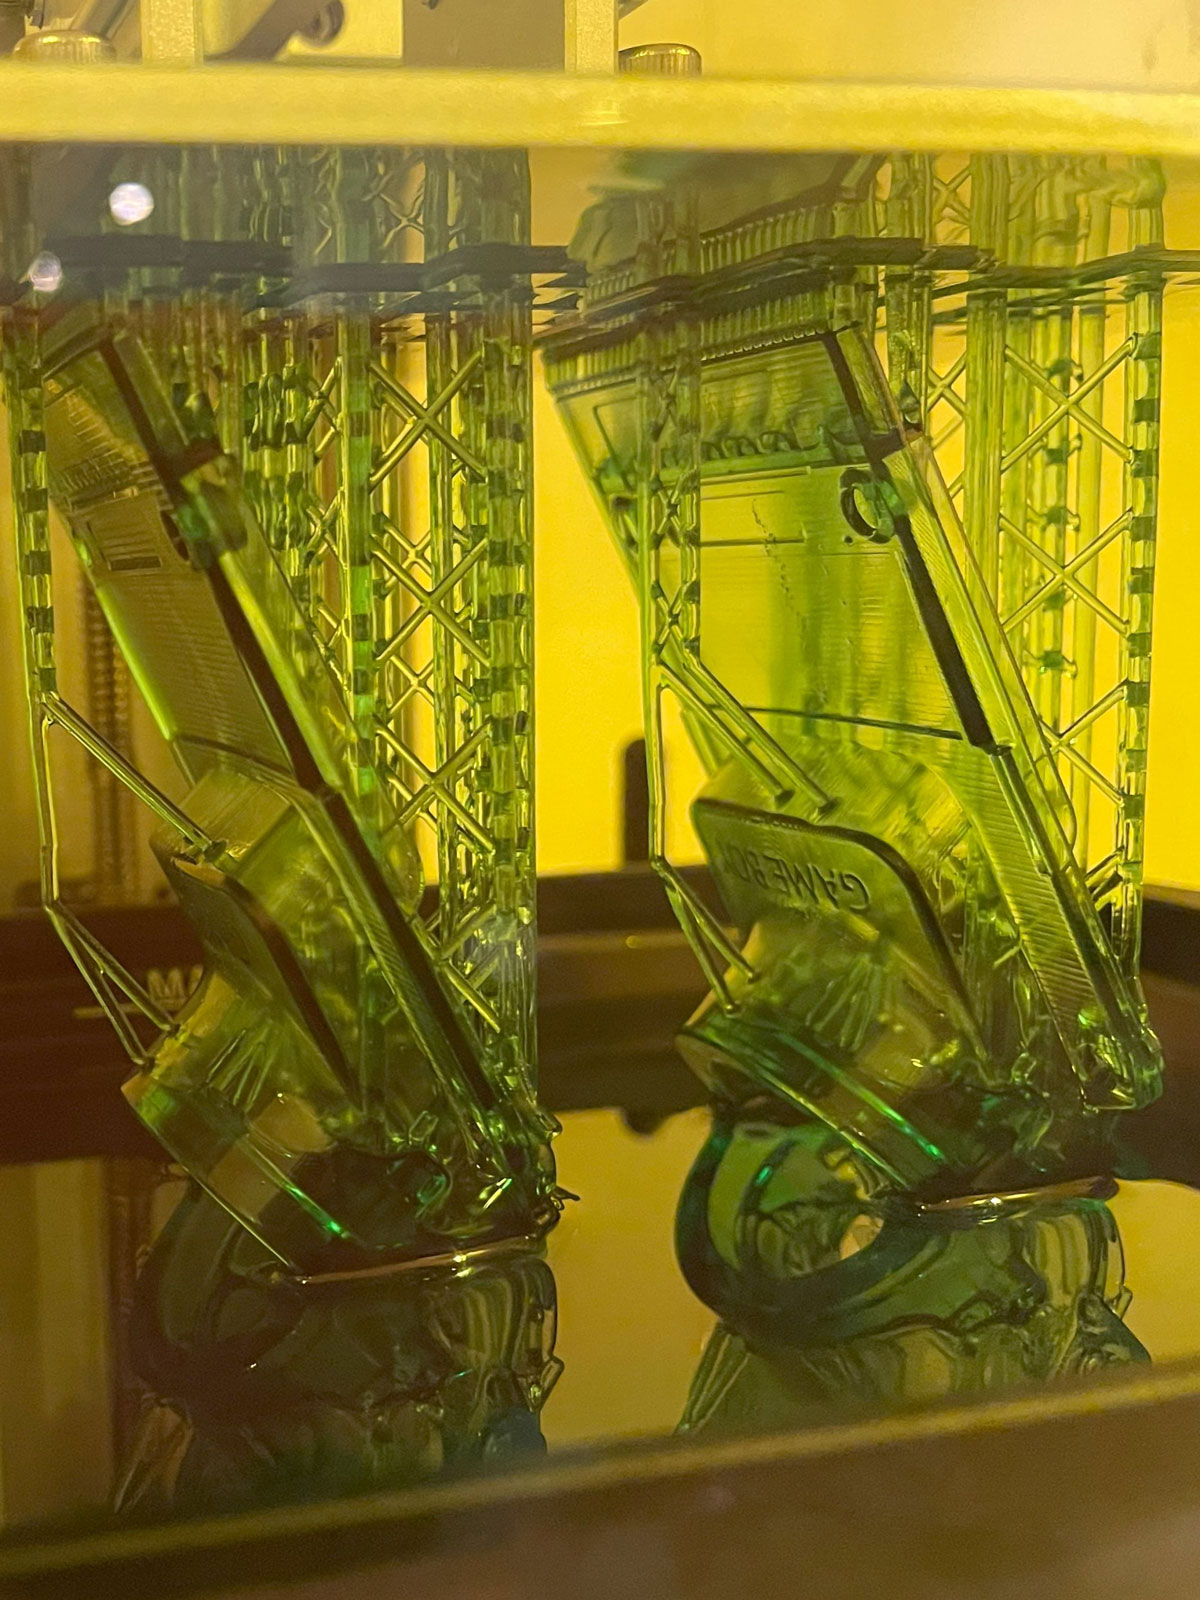
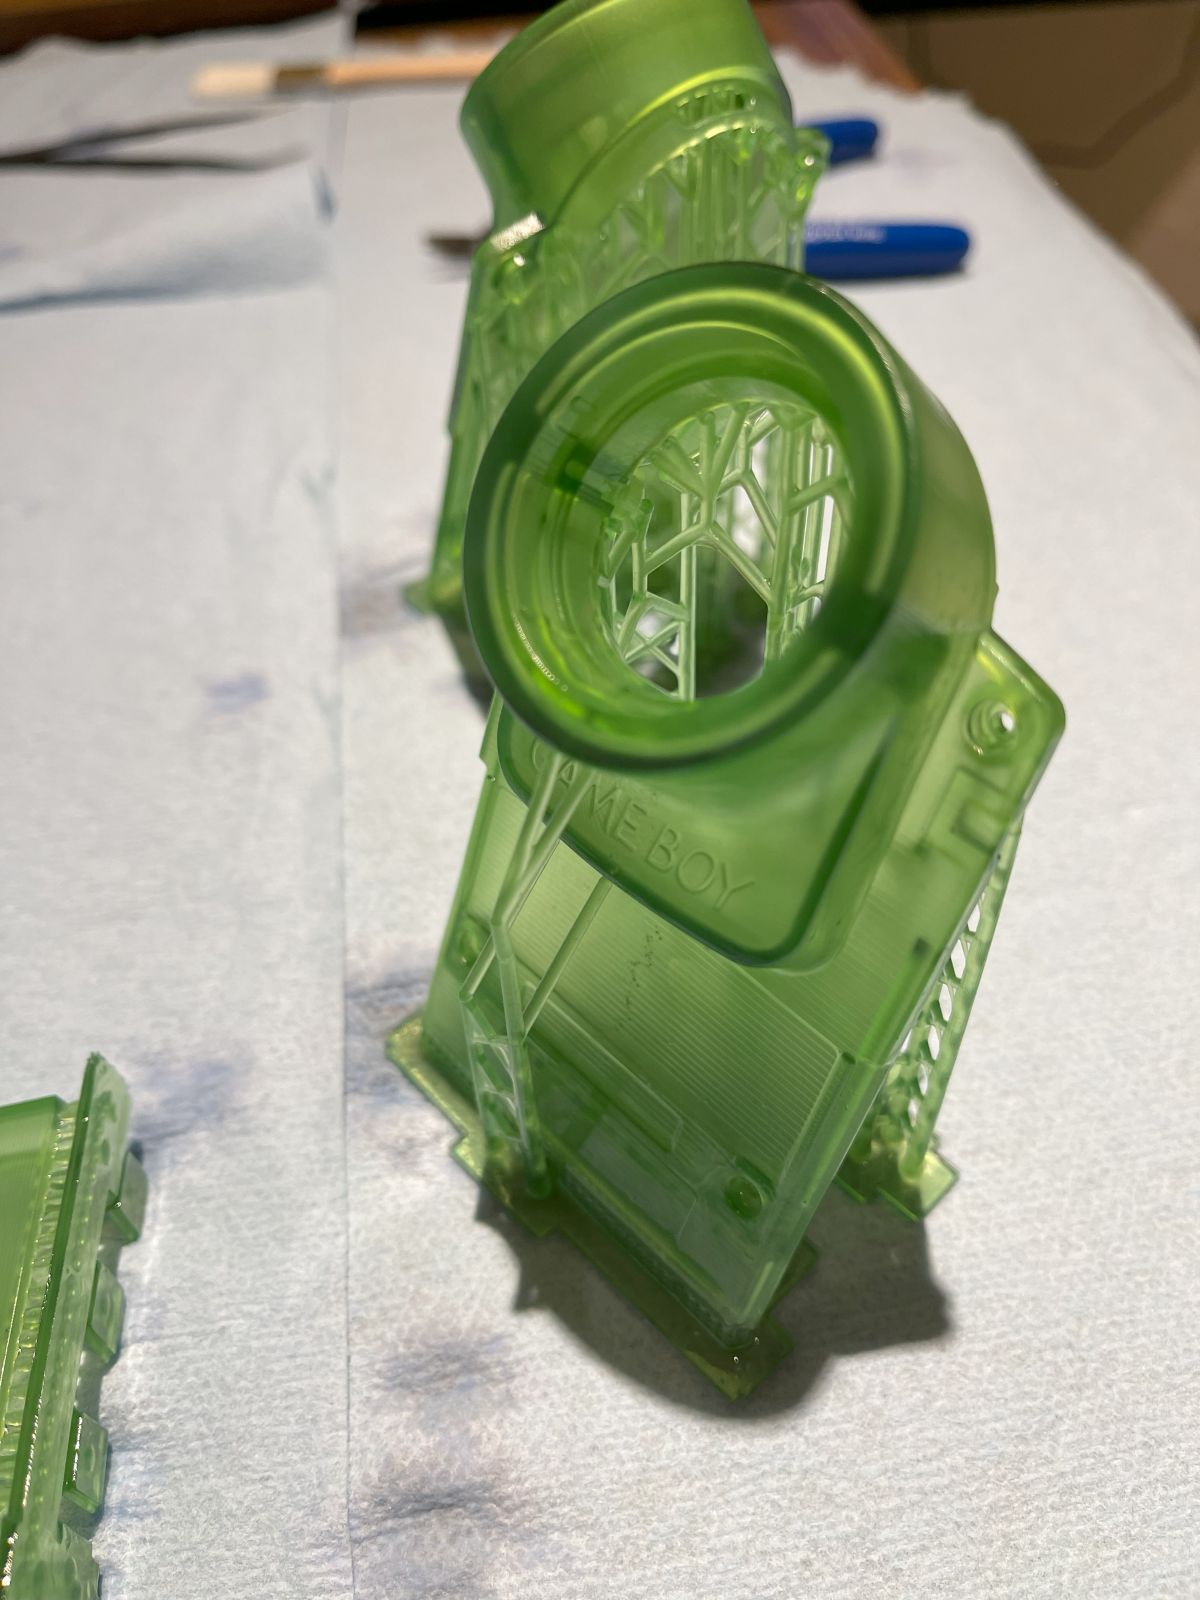
My FFF prints turned out fine, but the mSLA prints ended up warping a bit. That can happen on resin parts with long, thin areas. Unfortunately, that’s also a characteristic of nylon parts, and one of the outer shells made by Shapeways suffered a similar fate. 😅
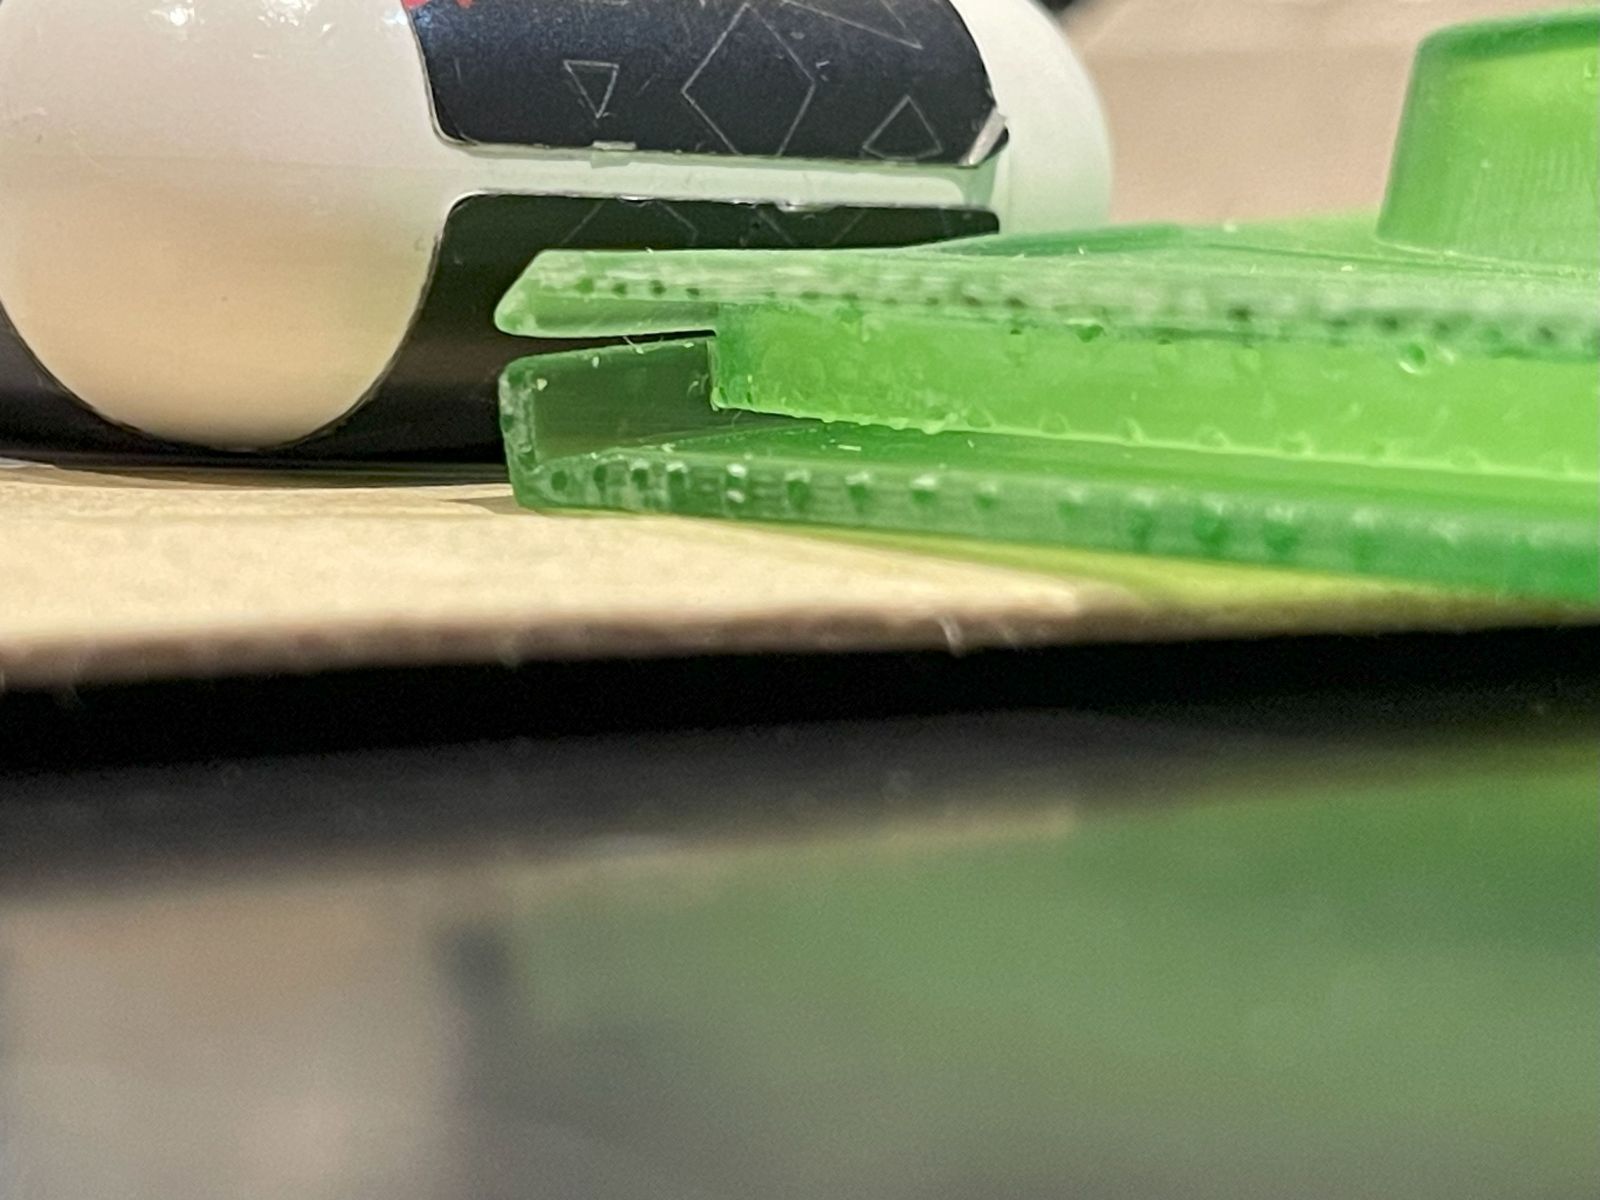
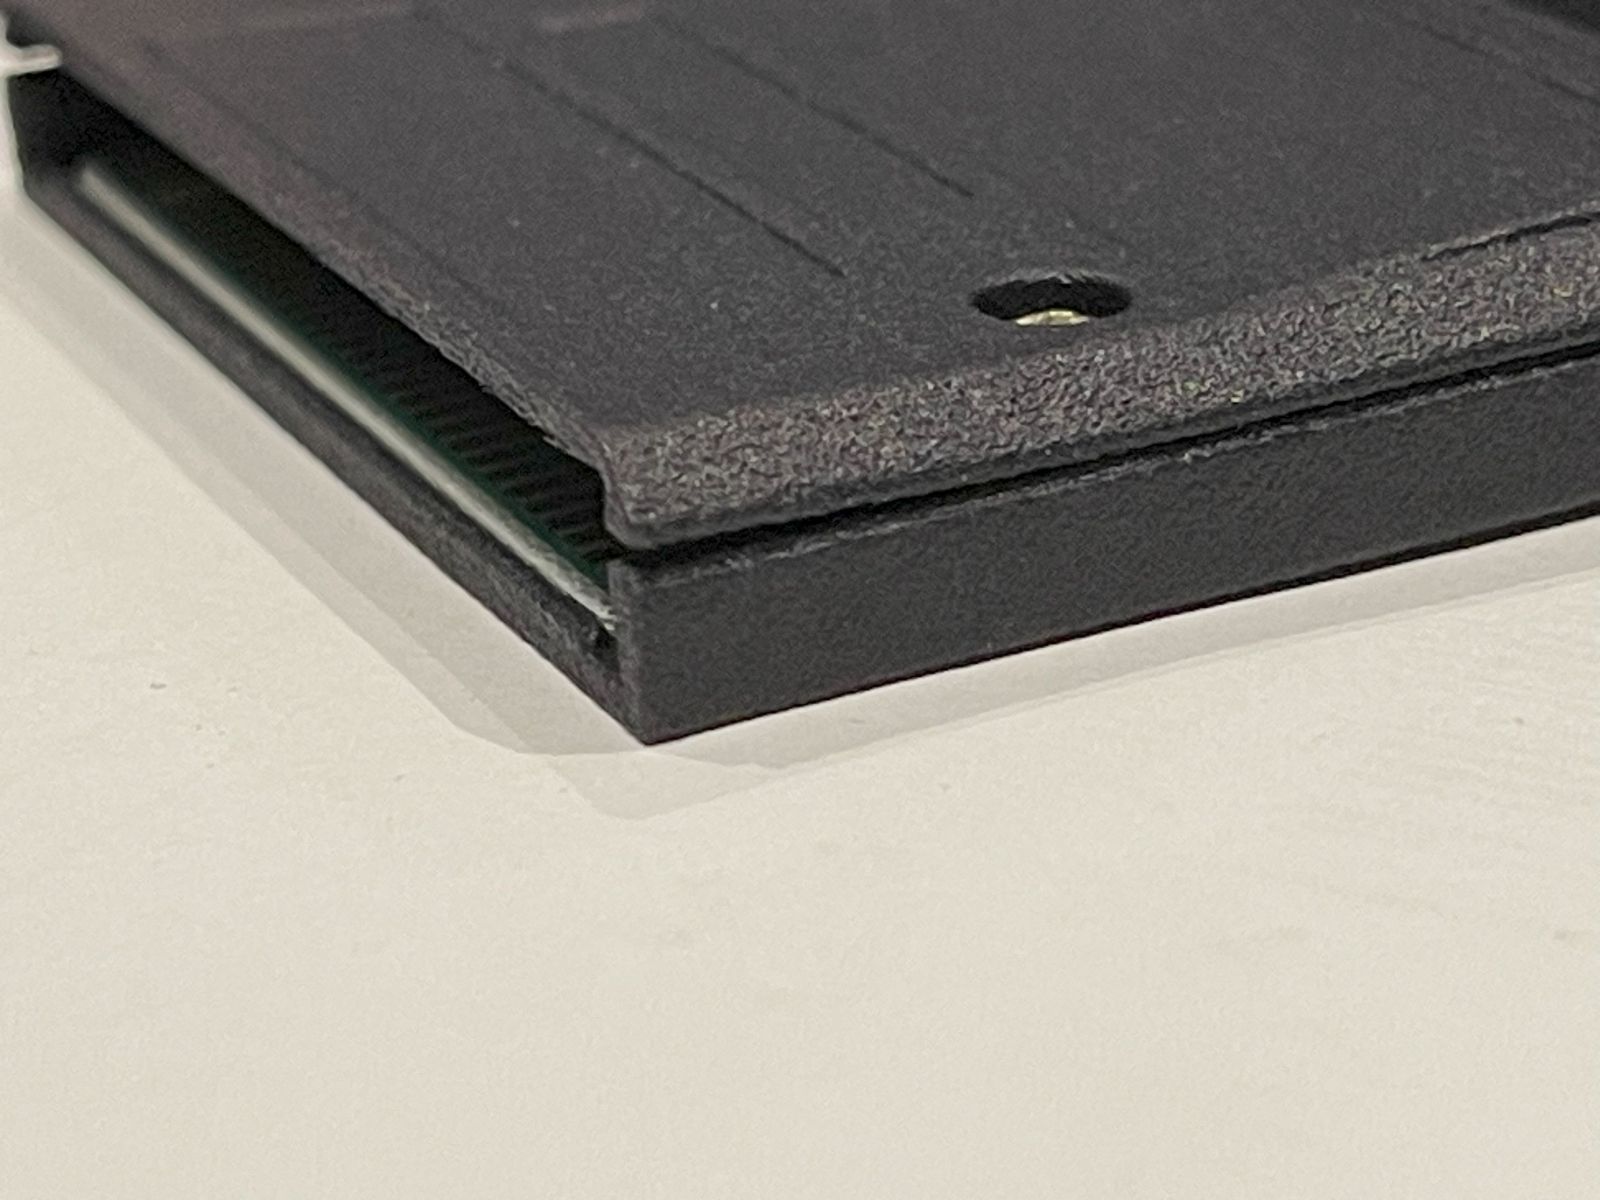
That’s fine, I can still make it work. 😄 (And eventually I’ll assemble one made in each process.)
Putting it all together
Transferring the contents of the old cartridge to the new shell is a straightforward process, and even reuses the existing screws. (It can also be reversed without any damage, which is great when you’re making changes to old hardware.)
Testing the Game Boy Camera+
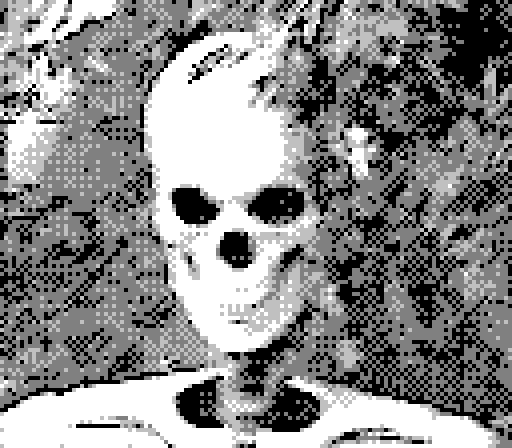
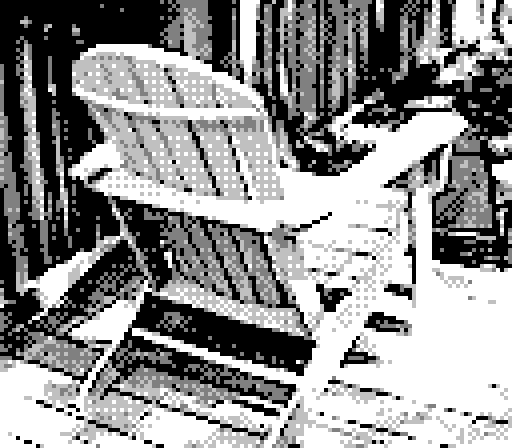
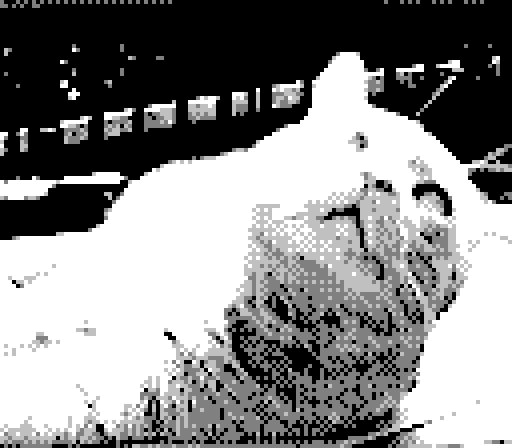
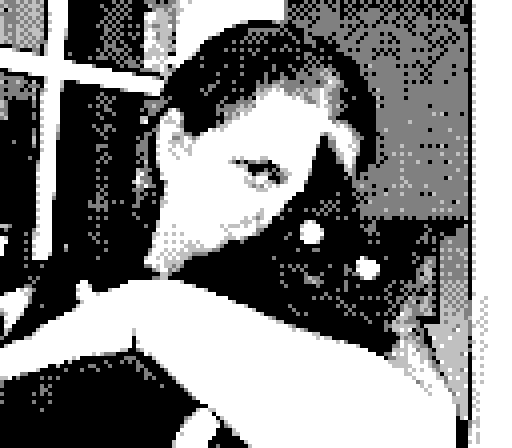
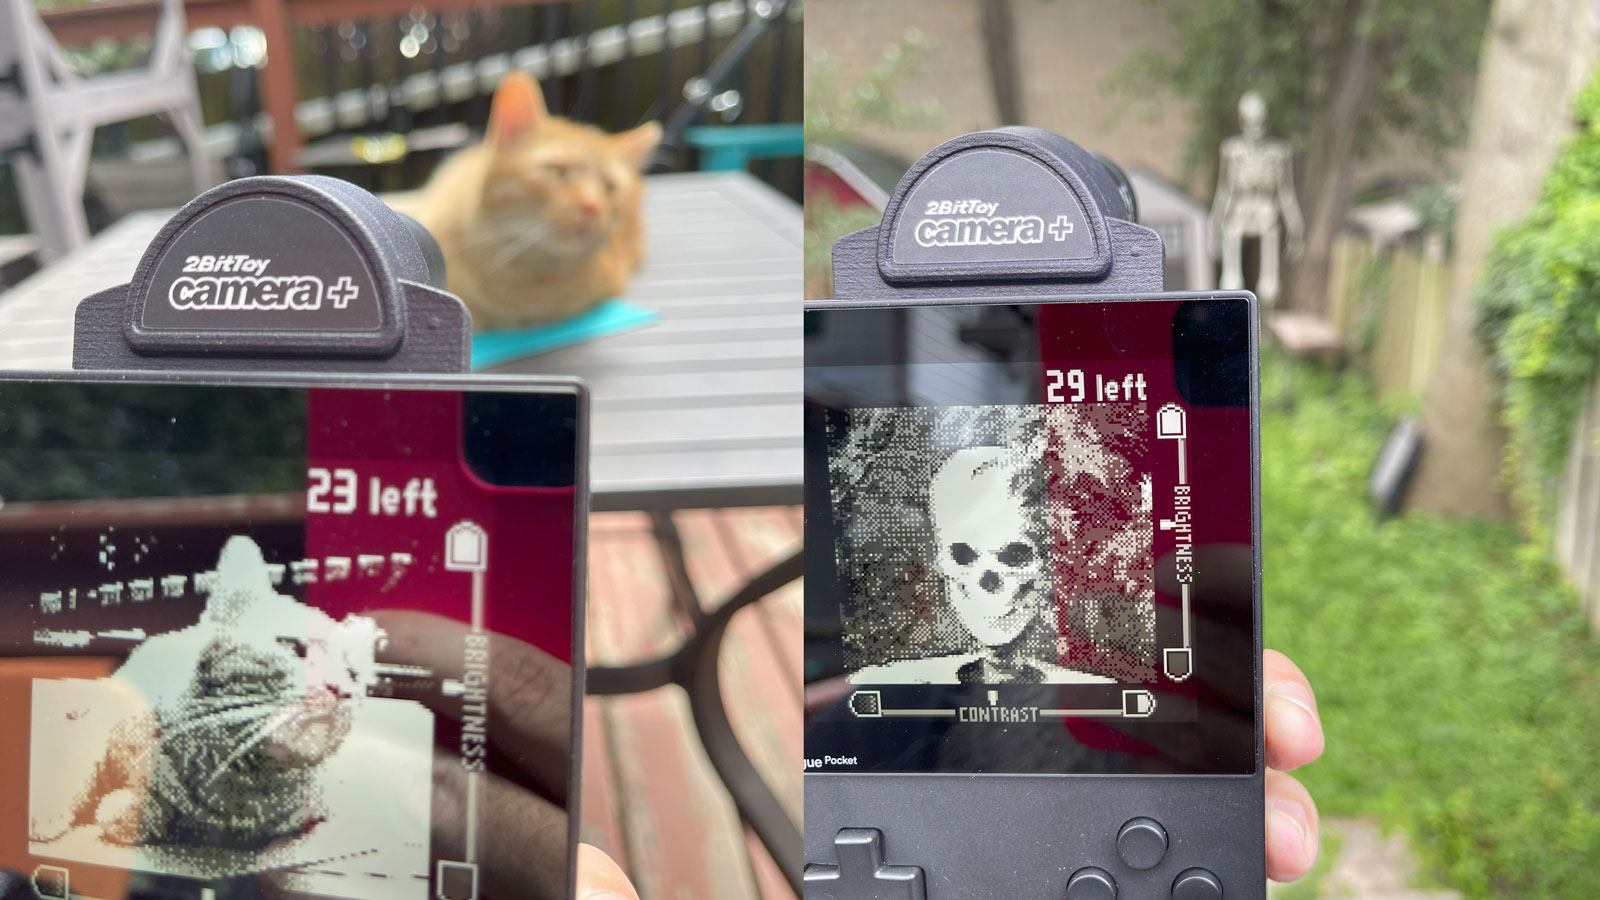
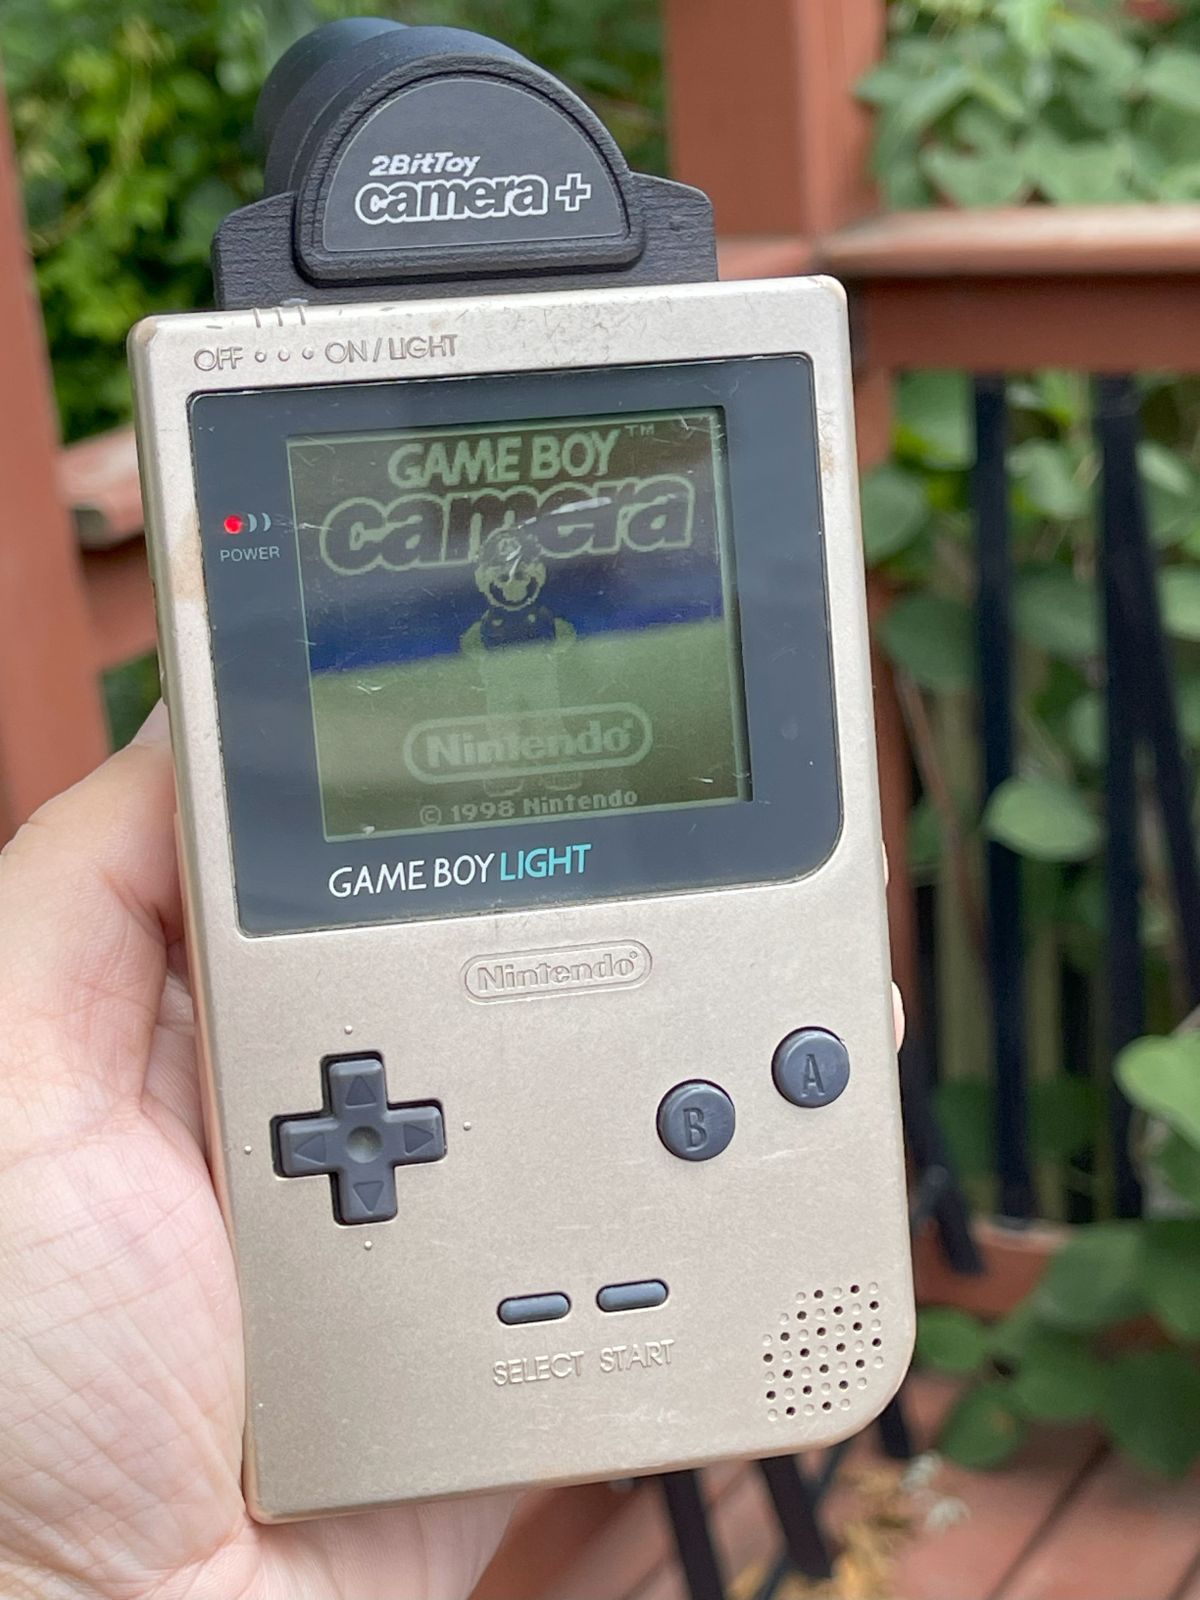
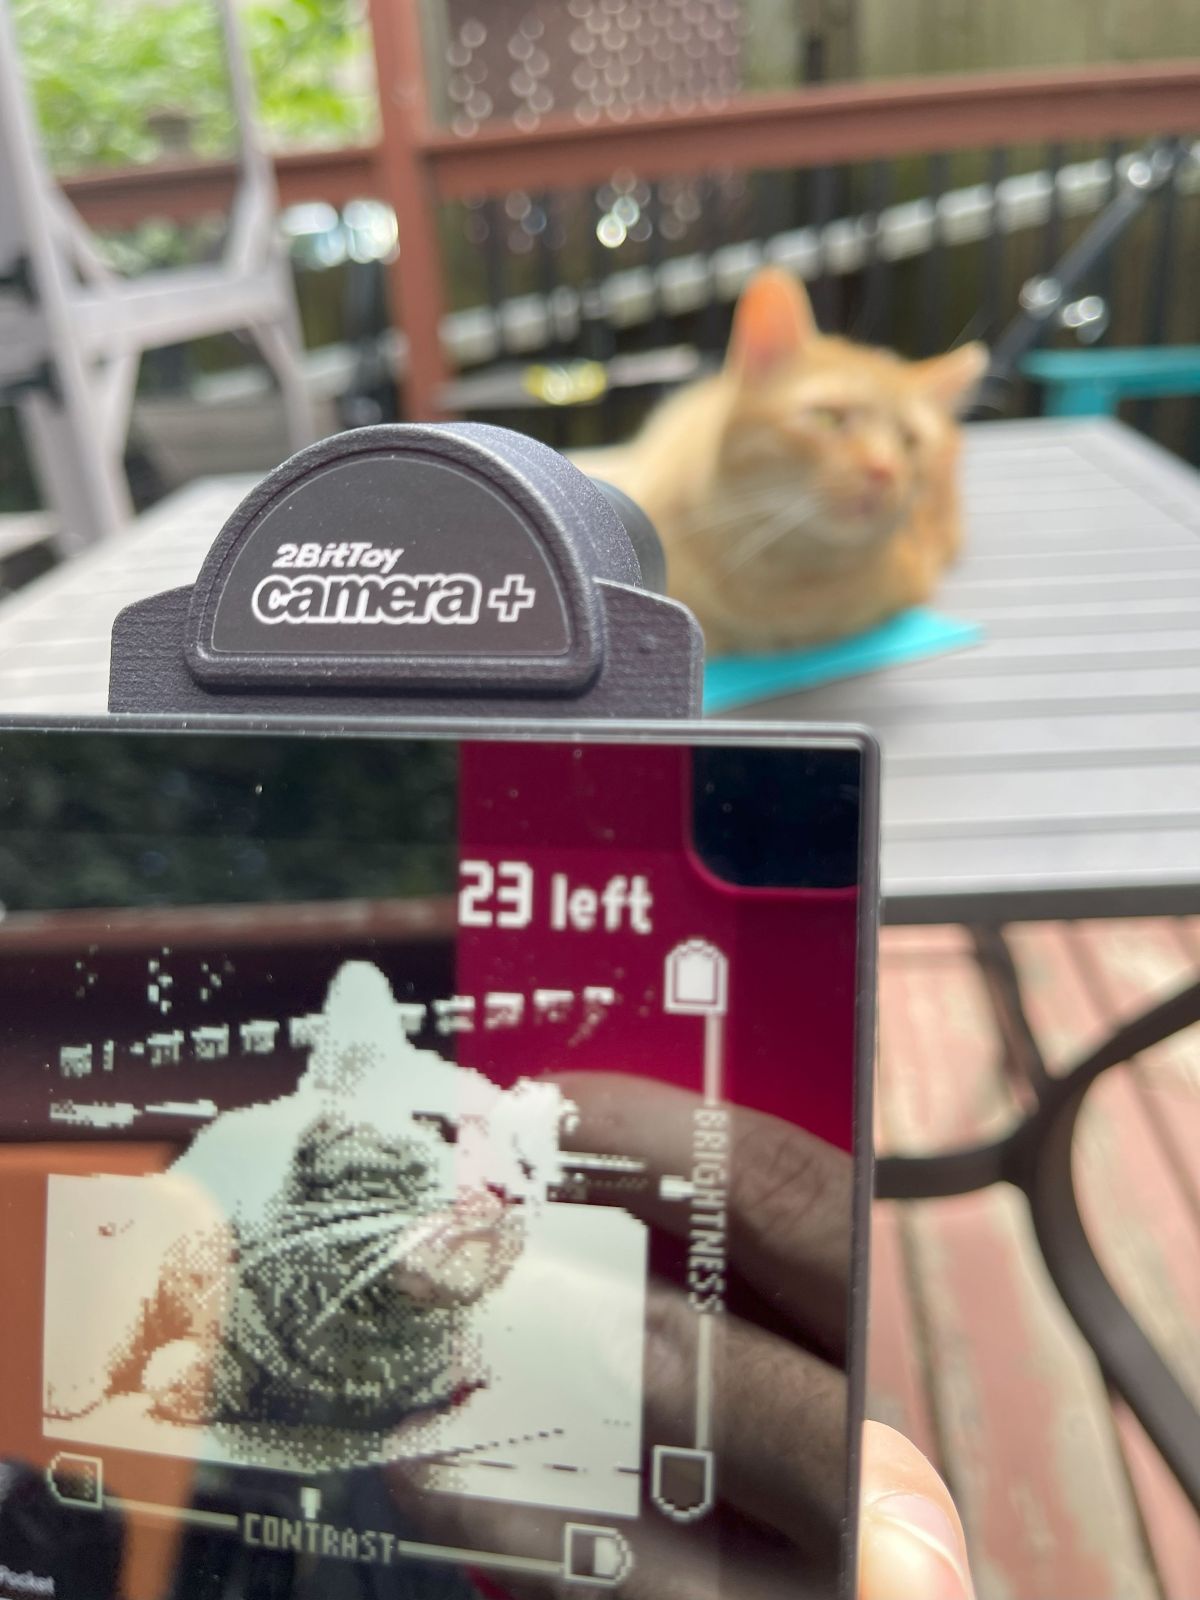
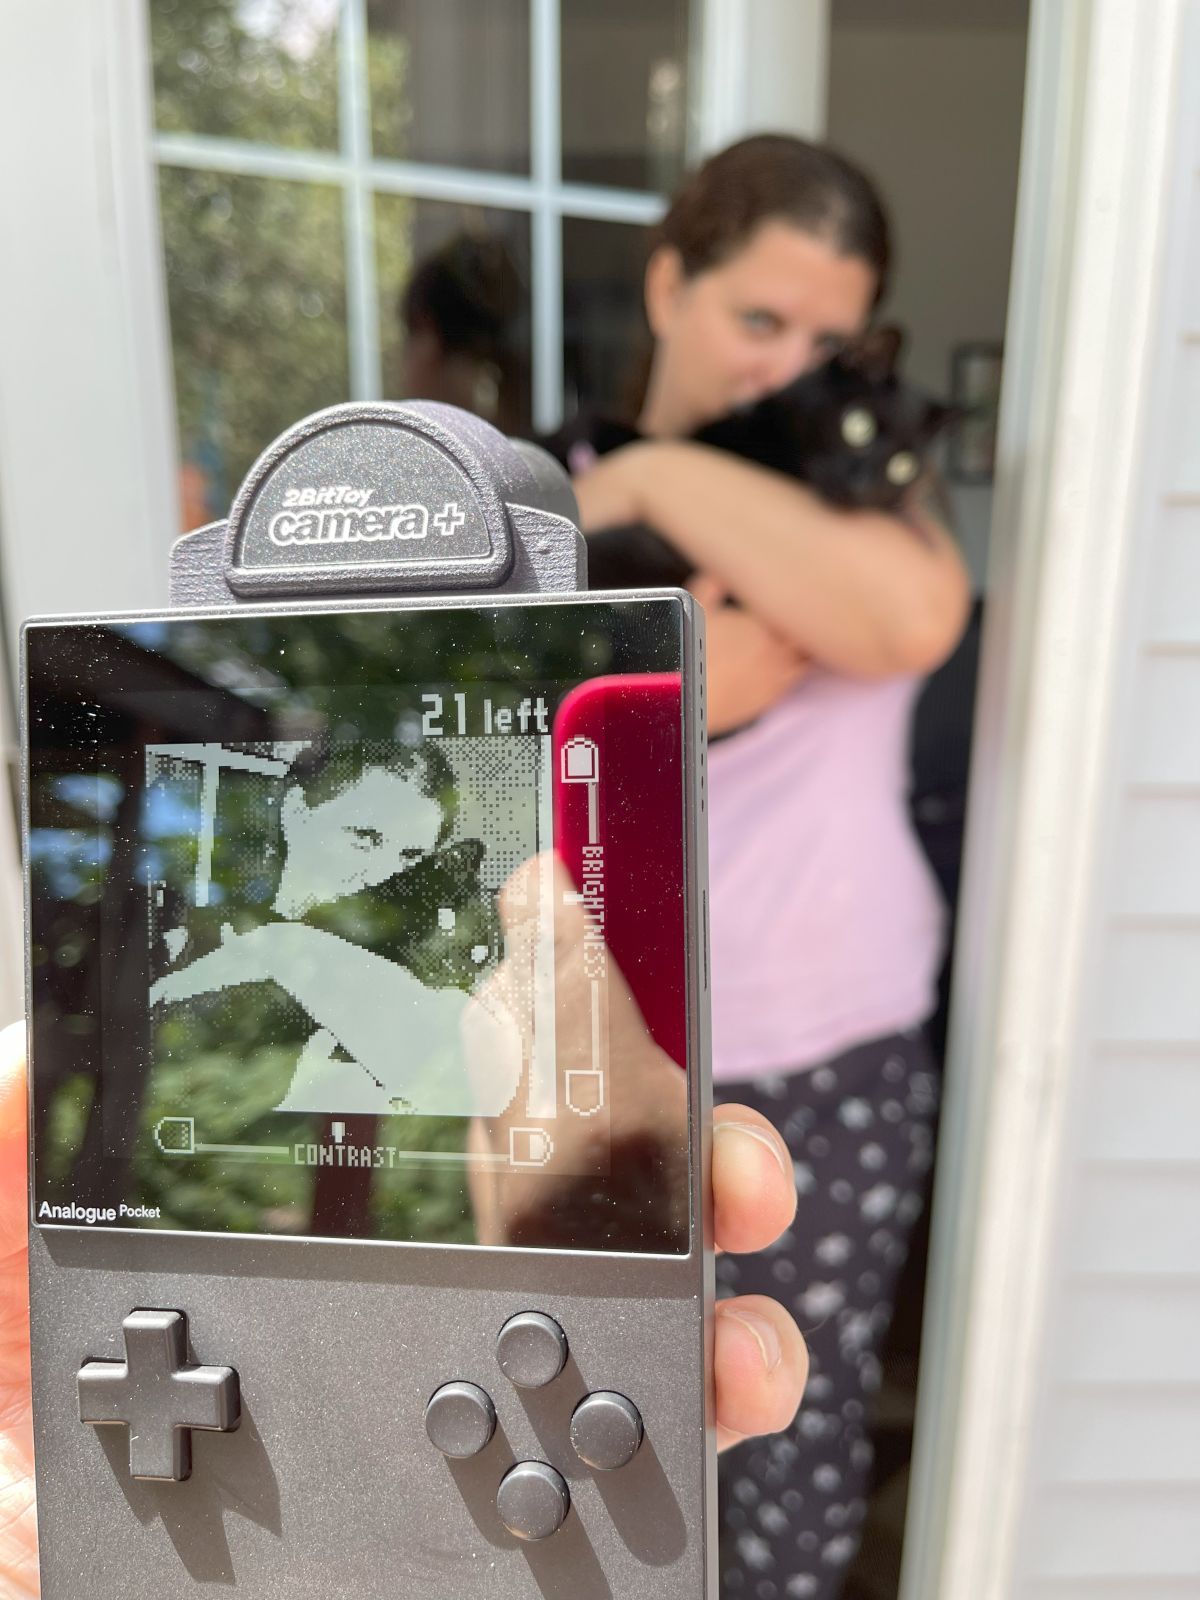
I took the Game Boy Camera+ to the backyard, and shot photos using various zoom levels on the new lens.
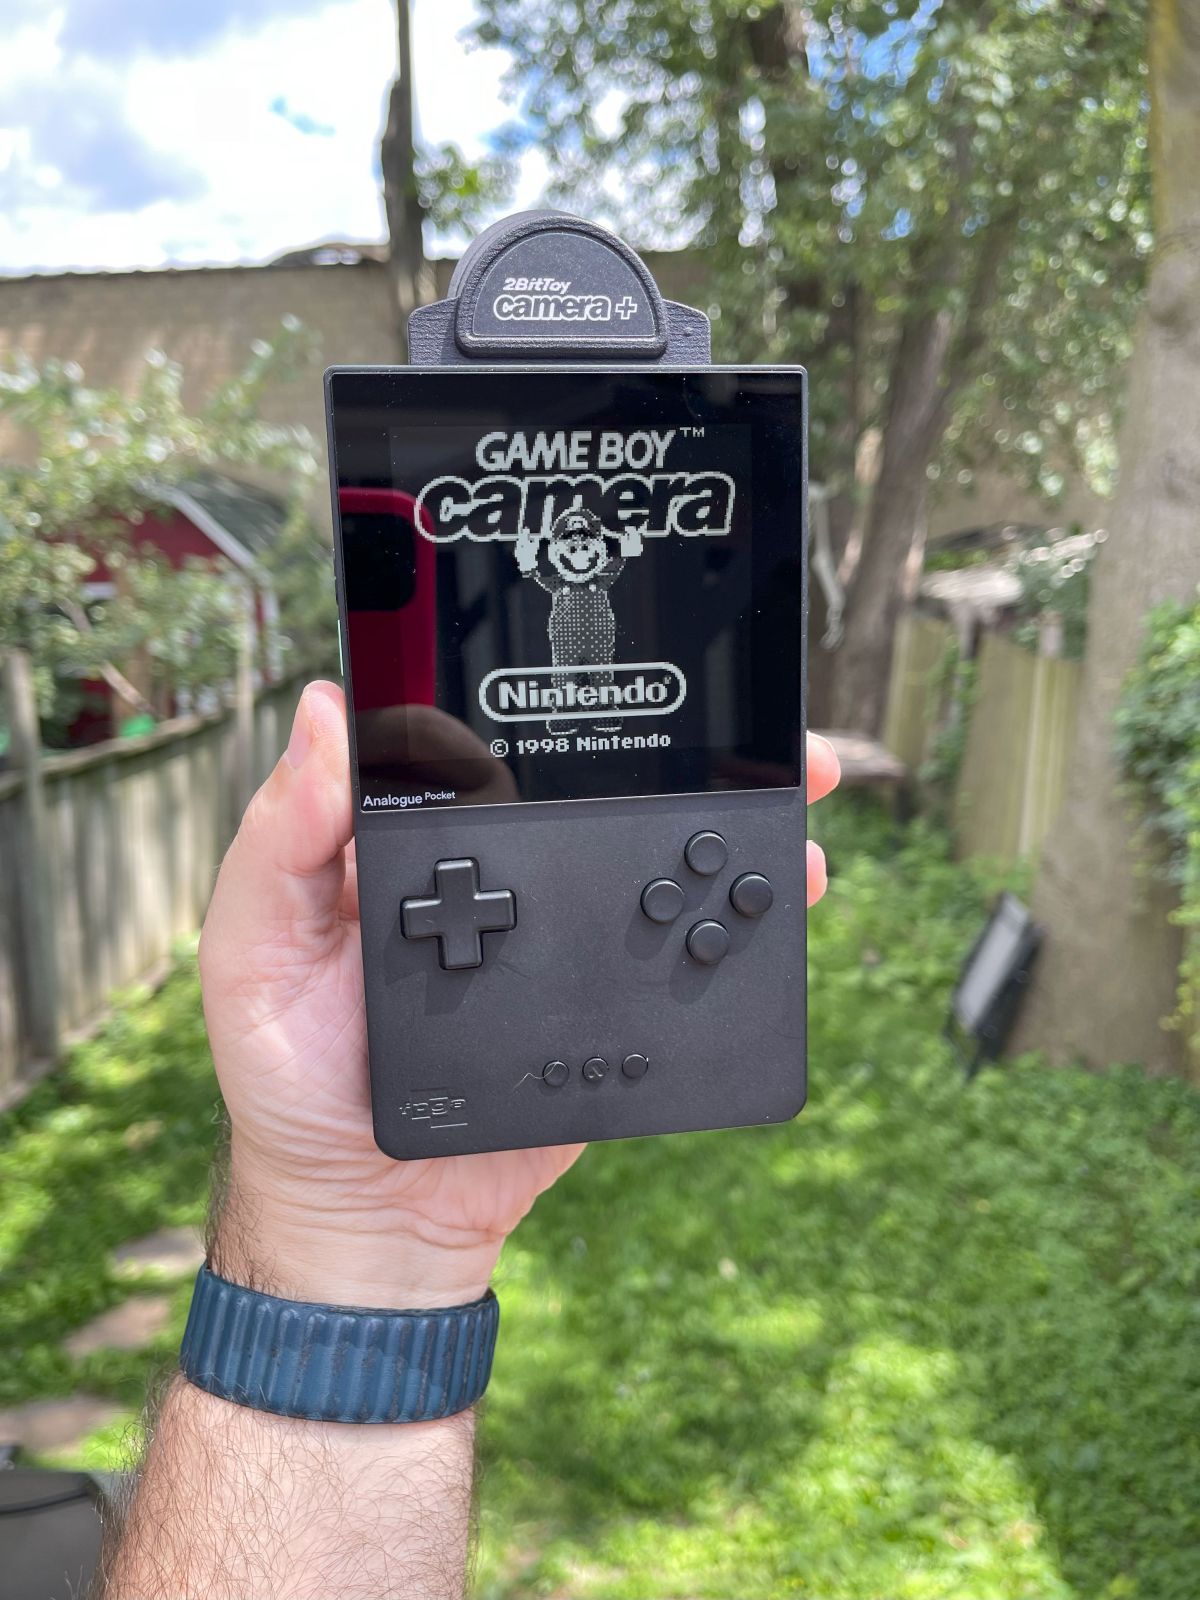
At first I tried using a Game Boy Light, but the screen was a bit difficult to see. Switching to an Analogue Pocket made things much easier!

The best way to take photos on the Game Boy
The Game Boy Camera+ is probably best paired with a Game Boy that has an aftermarket screen replacement rather than an Analogue Pocket, but I’m looking forward to trying other lenses and taking more photos. (The short cartridge slot on the Pocket means you have to hold the top-heavy Camera+ in place.)
After the backyard shoot, I copied the photos from the camera using a Joey Jr backup device: